Been doing the Blogging 101 Course, trying to do new things for the new year…however, the assignments seem to be just the same as the ones for this course last year. I remember doing the same things…like this one, trying out 3 new themes.
Since I did that last year, I’ll just skip it for 2015. As I recall, during the assignment last year, I accidentally changed to a theme that they wanted me to pay for. I didn’t sign up to blog on a platform that would end up costing me money! Free I like!
Meanwhile, I finished a sewing project (duh, yup, almost forgot, this is a sewing blog!)
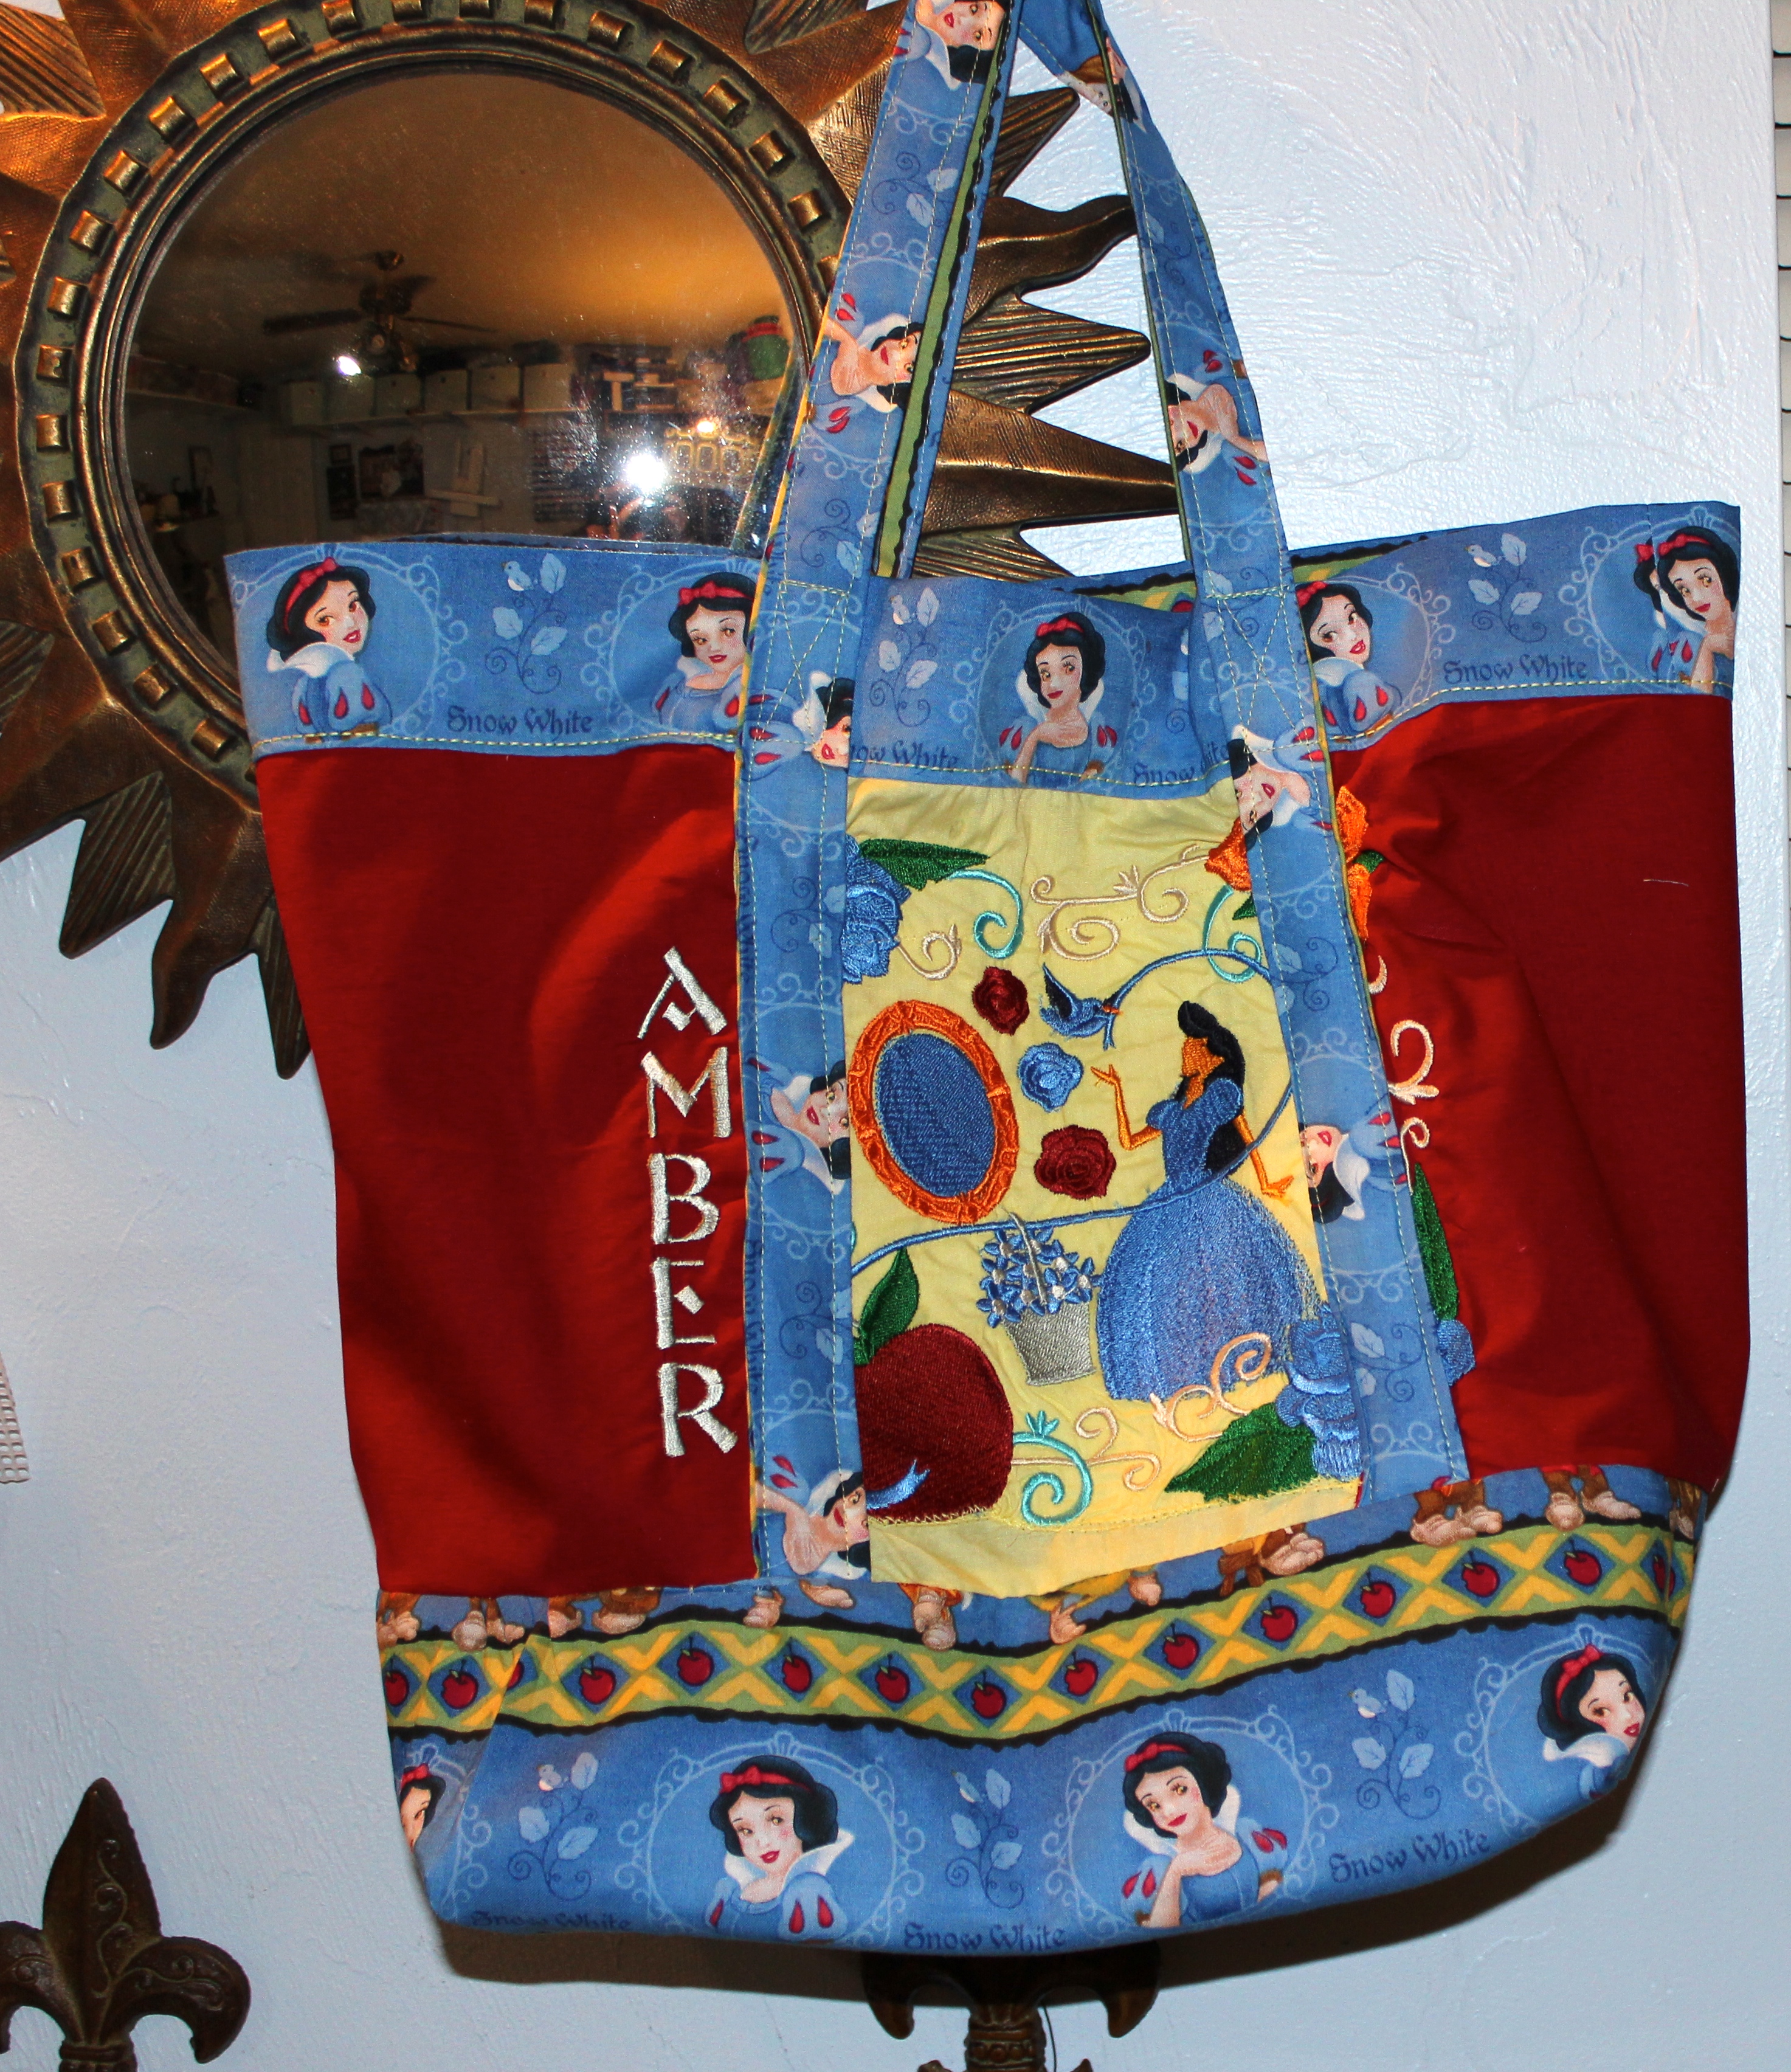
I worked on some uniforms for my favorite non-profit organization, Plenitud PR. The uniforms consist of shirts that have the staff workers’ names embroidered on the fronts and a mandala-shaped logo patch sewn on the backs.

logo patch
Once I got used to my new machine and lined up all the shirts and their 3 different tasks to do in assembly-line fashion, it got better and better. I got great directions and suggestions from some of the staff, which helped a lot. Among us, we decided that black would be a good thread color for the text embroidery on the fronts, except for a couple of shirts that were very dark-colored. Carson liked the Clarendon font best of the 3 text fonts that were right on the sewing machine without having to download anything extra, so we went with that. All the shirts were different, so I hooped most of them with a 100 x 100 cm hoop (a few had large pockets that were tricky to hoop around: a 150 x 150 hoop worked for them). In some of the practice runs, a few problems cropped up, like major bird-nesting underneath, causing some of the text letters to come out crooked or stunted in shape. So when starting the embroidery directly onto the shirts, I took every precaution. One or two tear-away stabilizer sheets went underneath, and water-soluble stabilizer (Sulky Solvy) went on top of each embroidery. I made sure to use the recommended sensor Q-foot that really bears down and flattens the area all around the needle, rather than the simpler R-foot I always used with my previous machines. The hoops for Husqvarna Viking sewing machines have marks inside at north, south, east and west (former mapper; for all others think up, down, right, left) so you can mark on the fabric with chalk or a temporary marking pen where they intersect, and that’s where you want the center point of your finished embroidery to fall. Some hoops have a plastic insert that has a little hole in the center, making it even more easy to line up the position of your embroidery. The machine comes with a bunch of little metal clips to put on the hoops, but I hate to use them; they tend to pop off and fly through the sewing room and get lost.
One shirt had a very large sectioned and zippered pocket right under where I wanted to embroider the name. At this point in the project, I felt like I’d seen every monkey wrench that could have possibly been thrown, so to head off any trouble, my idea was to fold down the top of the inner pocket and secure it with sticky-backed stabilizer so it wouldn’t flip up during embroidery and get trapped in the domain of an out-of-control bird-nest jungle.

Sticky stabilizing possible bird-nest area
I tried this first with some Pellon sticky-back stabilizer. Unfortunately, this had been in my stash for a few years and the sticky back wasn’t very sticky at all. Luckily enough, some Sulky sticky-back stabilizer, also in my stash for a few years, worked like a charm.

Sulky is the superior sticky-back
How about you, do you have any new projects for the new year so far?